DIY has become so popular these days it’s hard not to jump on the band wagon. It saves money (you can often re-use free stuff), it helps the environment (yea recycling!) it’s a fun hobby, AND you get to have lots of cool and original pieces in your home and be the envy of all your friends. Well maybe not the last part, but if you practice, perhaps so!
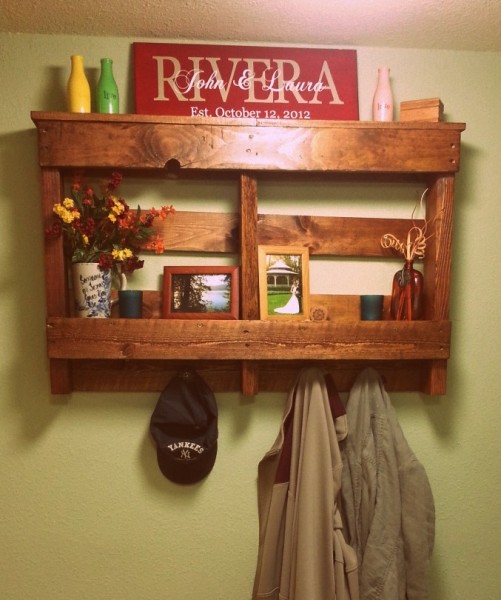
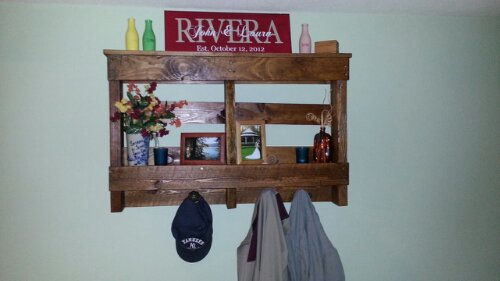
Here’s our new DIY Pallet Shelf!!
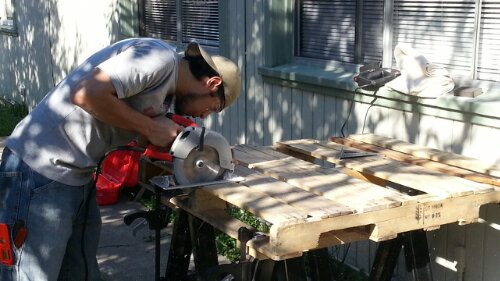
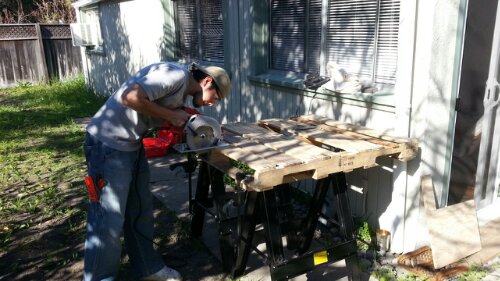
Seeing that I enjoy all of the above, it was a no brainer for me to start salvaging things that other folks no longer had love for and turning them into something grand! My first step was buying the All-Star some power tools, because, although I have been known to be handy and creative, I don’t trust myself with a circular saw. Plus he looks super cute using them!
Our entryway was looking pretty drab, the lock on it has been broken for ages (which we ended up using http://www.metrolocksmiths.ca to fix after a few quote estimates) and I knew I wanted some sort of shelf in there but nothing I found at the stores was impressing me so when I found some pictures on Pinterest of shelving made from pallets I knew that was the way to go!
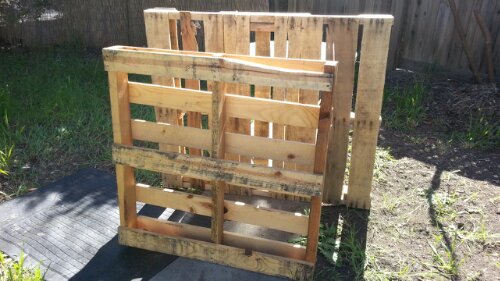
At first I had no idea where to get the pallets. Of course once I started thinking about it, they were popping up everywhere. We quickly acquired three. One from the school down the street, one from a friend, and the third was just sitting there in the alley outside my office. Woohoo, free stuff!
They sat in our garage, as soon as we repaired the door (here’s the website of our local contractors) for about a month while I thoughtfully planned out the design. (aka, convinced the All-Star to get started sawing – he’s a busy man.)
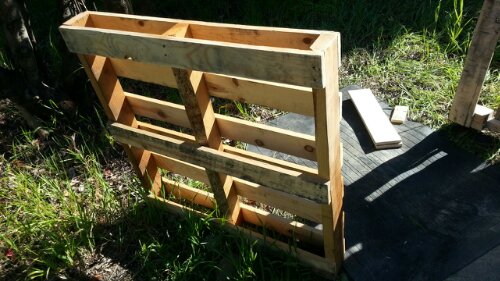
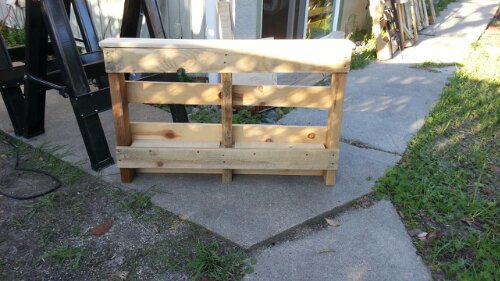
We used two pallets. One for the frame and another for the shelves. I worried that the different types of wood would look strange but it actually gives it even more of a rustic and artsy feel.
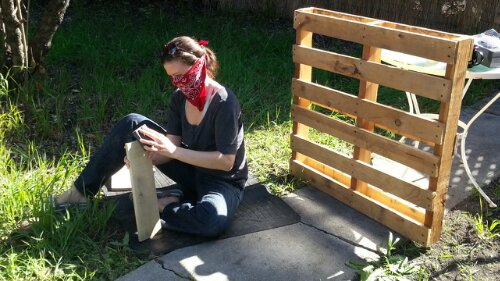
Once he got all the pieces cut, I started sanding.
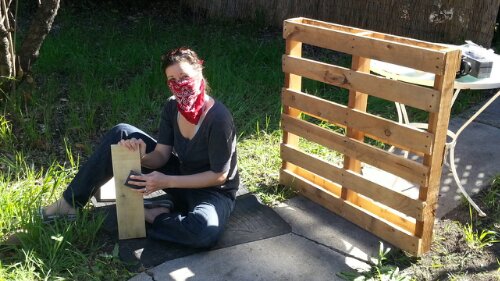
We don’t have masks so I used a bandana. Don’t I look so cool?!
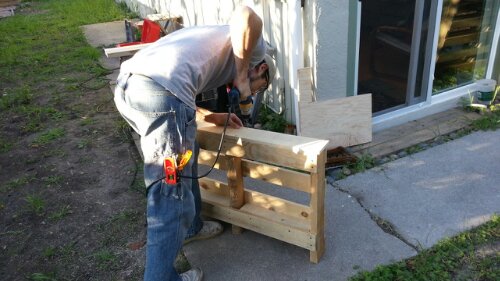
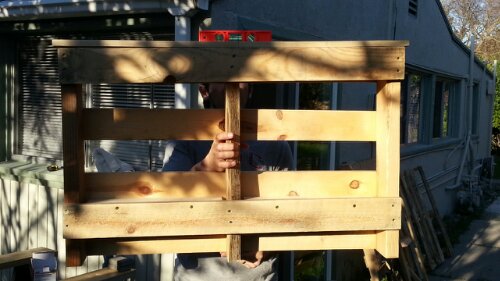
Once the shelves were sanded, the All-Star assembled the pieces.
A few nails later we had our masterpiece!
When using pallets, a lot of the lines won’t be perfect but I think that’s what gives it its charm!
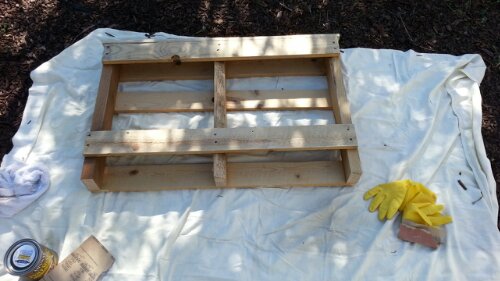
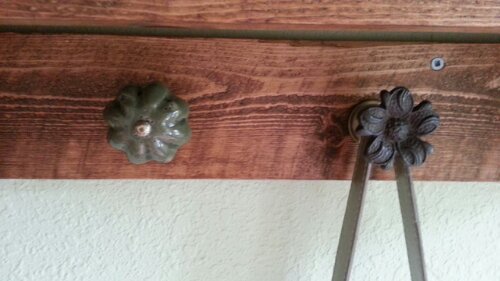
Two days later, I went to the hardware store to pick up some stain. I stood there for about 20 minutes trying to decide which color to use. I went with a darker, reddish stain. I thought it would compliment the space and the piece and I think I made the perfect choice!
A word to the wise, use gloves when staining. Also, the brush will become stiff and no longer usable unless you have some paint thinner, so be prepared to deal with that.
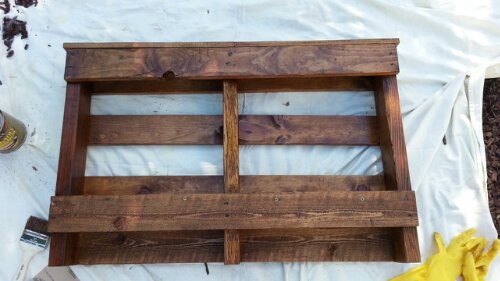
We let our lovely unit dry overnight, actually two nights, and then drilled it right onto the wall! Drilled in some fancy hardware for hanging things too and we were done!
Not bad for a first project!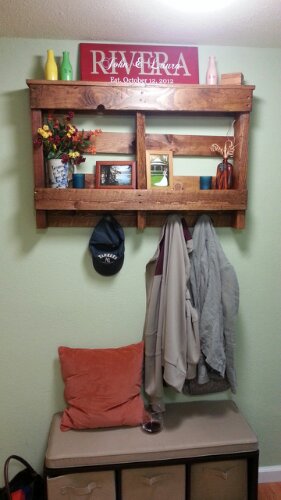 Don’t forget to reward yourself with a glass of wine while you gaze upon the beauty you have created. Lol.
Dressed it up with all gifted nicknacks from family members and a few pictures. I love it!
What DIY projects are you working on?

